
Strata Build Guide
Strata:Glitch & Strata:Frost Build Guide
Getting Started
Contained in the mesh pocket of your keyboard case you will find:
- Protozoa Logo screws
-
Grub screws (long screws with no head)
-
T6 TORX driver
-
Small square 'magnetic plate' with a threaded hole
-
Magnetic Badge
-
Aluminium standoffs (there are two sets of standoffs, a slightly longer set are packed in the hardware baggy and would only be used if adding additional layers to the top of the keyboard - e.g. 1mm metal layer).
For Hotswap builds, take out:
-
Small black M2 countersunk screws
-
Small black M2 button screws
-
Small black M2 3.5mm standoffs
Tips:
-
It is highly recommended to wear gloves during this process.
-
It is recommended to test your PCB before assembling the build.
-
Acrylic layers may have some dust on them from packing in the warehouse. Every attempt was made to reduce this, but some dust is unfortunately unavoidable. Where possible, use a blower to get rid of dust, or a very soft microfiber cleaning cloth.
-
Try not to rub the acrylic very hard with the included cloth if there is visible debris, as it can then scratch.
If you are soldering your PCB (not hotswap), here are the things you'll need to assemble your PCB:
- Soldering Iron
- Solder Wire (kester 63/37 .031 inch leaded solder recommended)
- Flush Side Cutters
- Flux Pen
Recommended Items:
Warning: Soldering can cause harm to yourself and others. Please review this Safety Guide before beginning. You're soldering at your own risk.
Flashing your PCB:
-
All PCBs will be pre-flashed before you receive them and will be ready to go with VIA (https://usevia.app/#/). However, if you have any trouble at all, please check this guide.
Let's Get Started
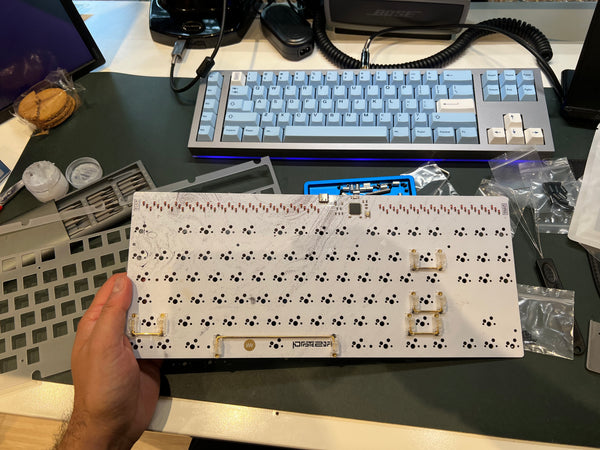
STEP 1 - Stabilizers
Install your stabilizers onto the PCB. Lube them, test them, or just leave them as is - it's up to you!
STEP 2 - Hotswap Standoffs
(For Hotswap builds only)
Take out the plate, place a countersunk screw in one of the countersunk holes. Flip the plate over and screw in a standoff. Repeat this for all holes in the plate.


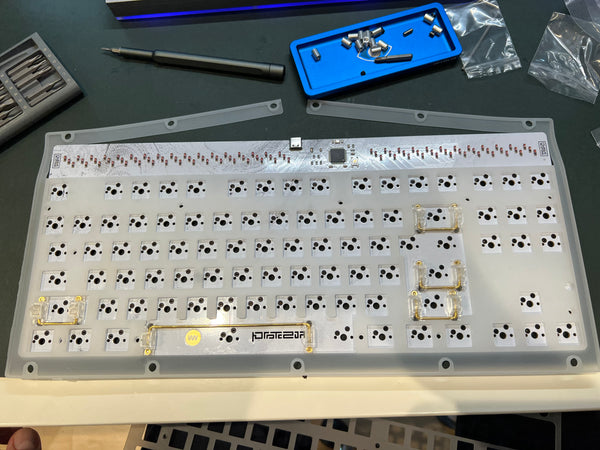
STEP 3 - Silicone Sheet
Unwrap the silicone sheet, and place it on top of the PCB with stabilizers installed. Take care to push it down around the stabilizers, to make sure it is flush with the PCB.

STEP 4 - Installing Switches
(For Hotswap builds only)
Place the plate on top of the silicone sheet, then flip all three pieces over. Screw the button screws into the standoffs. You now have a solid 'sandwich' of all three pieces. Install your switches now, or after assembling.
(For solder builds only)
Place the plate on top of the silicone sheet. Begin soldering in your switches, starting with stabilized switches, the four corners, and a few switches in the middle. Ensure the assembly is tight and flush as you go along.
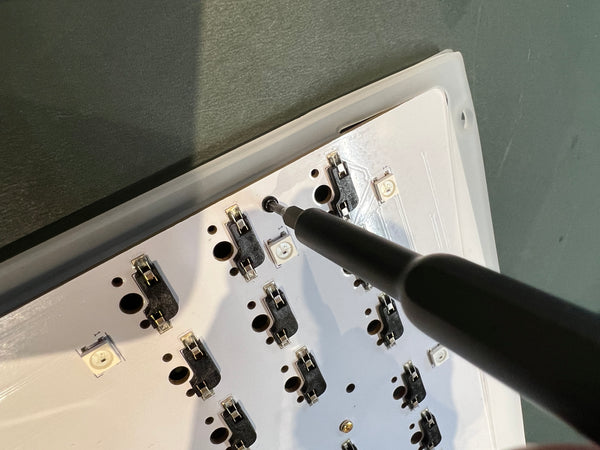
STEP 5 - Install Grub Screws
Install 'grub screws' into the Base. They don't have to go all the way in, you can leave about 4-5mm of thread visible.
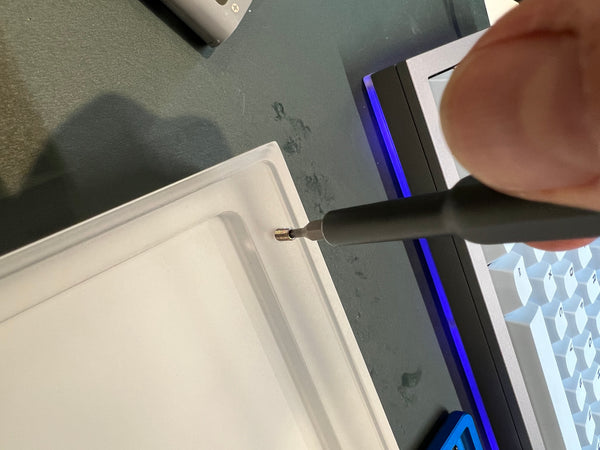
STEP 6 - Install Standoffs
Screw in the aluminium standoffs (make sure to use the shorter ones) by hand, onto the grub screws.

STEP 7 - Install PCB Sandwich
Place your plate - pcb sandwich stack onto the standoffs. Take care to make sure it is seated properly, and everything is flush.
STEP 8 - Layer 1
There are three acrylic layers.
How to distinguish between them:
Layer 1 - Has a single hole above the arrow key cluster.
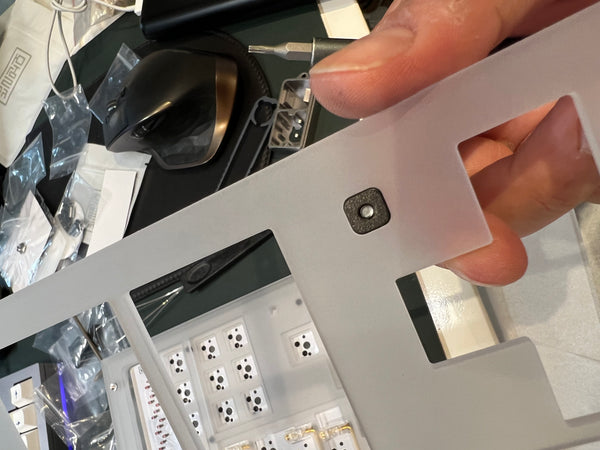
Layer 2 - Has a square cutout for the 'mag plate' above the arrow key cluster.
Layer 3 - Fully covers the top area, and has a rectangular hole for the badge.
Install Layer 1 on top of the plate.

STEP 9 - Layer 2
Screw in the 'mag plate' with one of the M3 logo screws into Layer 2. Don't screw it in all the way, so that the end of the screw is flush with the top of the mag plate.
Install layer 2 on top of Layer 1
STEP 10 - Layer 3
Place Layer 3 on top of Layer 2 and 1. Use the M3 Logo Screws to fasten it. This squeezes the whole assembly together. Screw them in finger tight, then in a cross pattern, tighten all the screws. Take care not to overtighten, once you feel a good amount of resistance you can stop screwing.

STEP 11 - Done!
Plug it in, admire your work, you're done!
